
This is the first in a multi-part series on the Azure DevOps CLI. There are currently four posts planned, including:
- An Introduction to the Azure DevOps CLI
- Revoking PATs with the Azure DevOps CLI
- Using the Azure DevOps CLI Behind a Proxy
- Make Every Day a Banner Day with Azure DevOps CLI
Why Have a CLI?
If you’ve been using Azure DevOps for a while then you know there is a ton of functionality available within the product. With that functionality comes a decent amount of administration overhead that must be dealt with. For example, you need to manage users and licensing. You have to create projects and set them up to match the needs of the organization and teams. You have work items to deal with, code repositories, security configuration and on and on… There’s lots to be done!
Most of the time you are likely performing these administrative tasks manually within the Azure DevOps UI. While the UI generally provides a decent user experience some things are much better off being automated.
That is where the Azure DevOps Command Line Interface (CLI) comes in. With the Azure DevOps CLI, you can automate (via command line scripts) many aspects of your Azure DevOps administrative needs. For example, you can queue builds, create work items, etc. Let’s walk through the steps of getting the Azure DevOps CLI installed and take a look at a few simple examples.
Regardless of your scenario, if it’s something you think you’ll be doing more than once or twice you should definitely take advantage of the CLI and automate!
Azure CLI
A prerequisite to using the Azure DevOps CLI is the Azure CLI. If you don’t have the Azure CLI installed, you can follow the instructions here.
For Windows, the process is pretty straightforward:
- Download and install the MSI
- Sign in to Azure: az login
- [Optional] Work through some of the Azure CLI Quickstarts and Tutorials
Azure DevOps CLI
Once the Azure CLI has been successfully installed, you can move on to installing the Azure DevOps CLI. This is accomplished by installing an Azure CLI extension as follows:
az extension add --name azure-devops
You can confirm the installation by running:
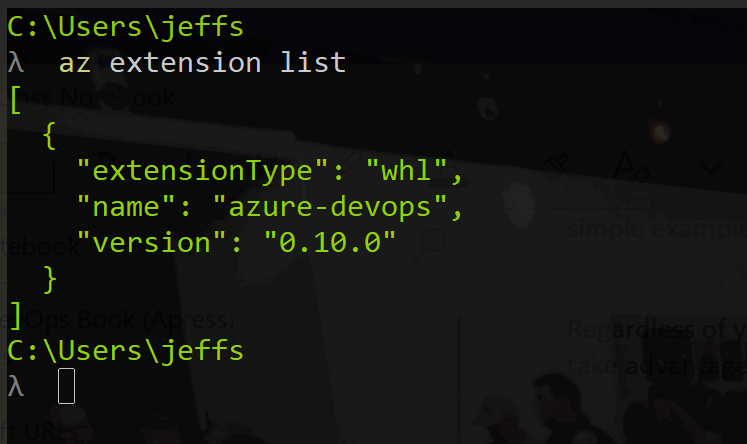
az extension list
You should see an extension with the name “azure-devops” in the list.
Next, you need to sign in. If you’re using Azure AD (AAD) accounts with your Azure DevOps organization, you can sign in using:
az login
Otherwise, you can sign in with a personal access token (PAT) as follows:
az devops login
Finally, you will want to configure some default settings to make running CLI commands a breeze. The following command will set the default Azure DevOps organization and project names:
az devops configure --defaults organization=https://dev.azure.com/{YourOrg}
project={YourProject}
Some Quick Examples
Now that you installed the CLI, signed in to Azure DevOps and setup some defaults, you’re ready to run your first CLI command.
List Builds
For example, let’s get a list of builds:
az pipelines build list -o table
This should give you a list something like this:

Notice the -o switch in the above command. This is short for –output. There are three possible values for this switch:
- table: displays the results of the command in a table (tabular) format
- tsv: displays the results of the command as tab-separated values
- json: displays the results of the command in formatted JSON
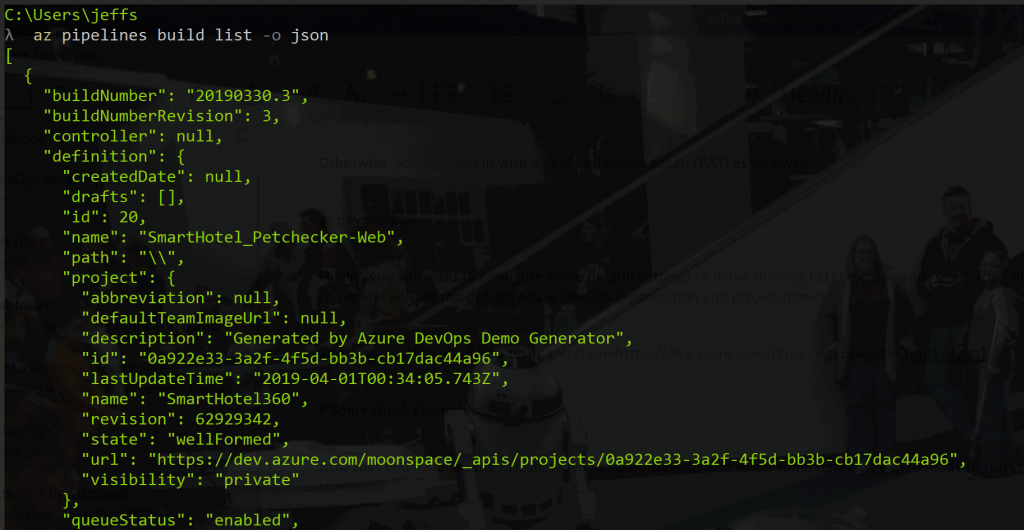
Running the same command with JSON output:
az pipelines build list -o json
…will present something similar to this:
Show Work Item
To display the details for a specific Work Item (by ID):
az boards work-item show --id 1 -o table

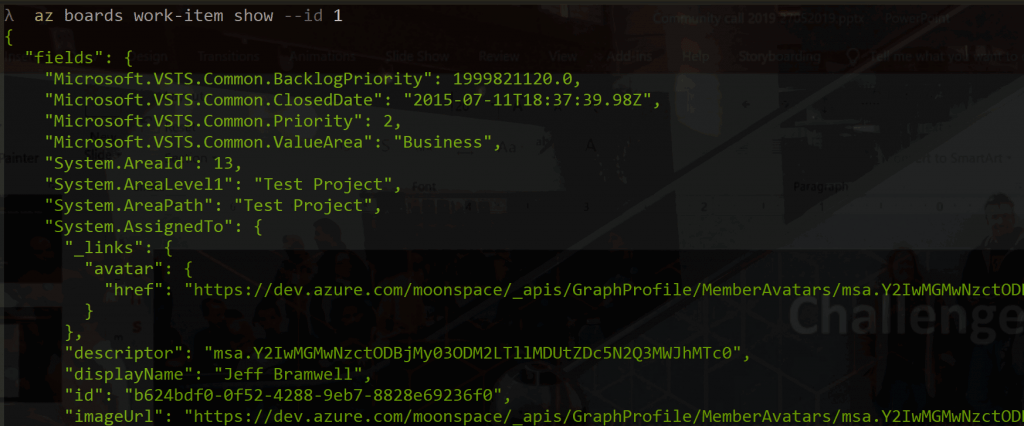
Using the -o table switch, you get a summarized view of the work item. To see all the details, request the results in JSON format:
az boards work-item show --id 1 -o json
Create Work Item
So far we’ve shown a few examples of displaying data from Azure DevOps. What if we want to create something? Simple! Here’s a quick command that will create a new bug work item:
az boards work-item create --title "My Awesome App" --type Bug
--description "Yep… it just threw an exception!"
The results of the command will be displayed as JSON data. Toward the end, you will see an ID value. In the above example, the ID was 568 so we can verify the bug was created by using the command shown above to display Work Item details:
az boards work-item show --id 568 -o table
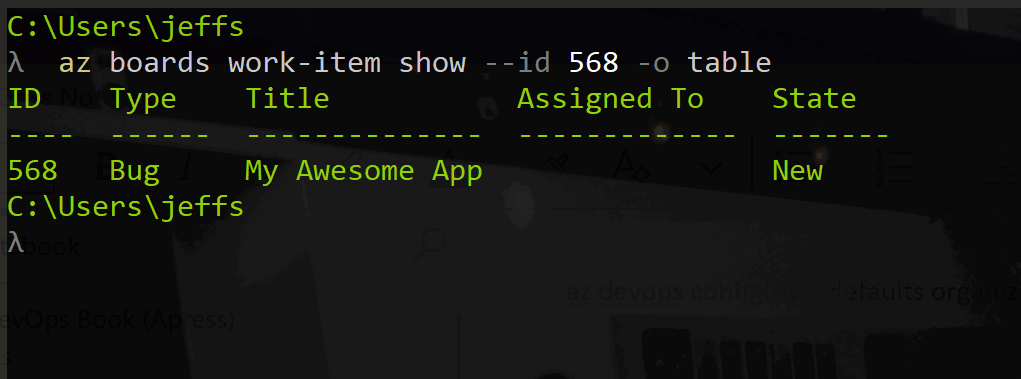
It’s not hard to imagine using a command like this to integrate various processes into Azure DevOps – e.g. creating bug cards when something goes bump in the night.
Summary
The few examples shown above don’t even come close to scratching the surface of what’s possible with the Azure DevOps CLI. To learn more about the capabilities of the Azure DevOps CLI, you should definitely check out Microsoft’s documentation for the Azure DevOps CLI.
Also, keep an eye out for the next posts in this series! Finally, please chime in below with your thoughts on the Azure DevOps CLI.
Hi, when can we expect the other posts in this series? I’m having a few issues with admin banner and looking to see other’s experience.