If you build apps for the web, including progressive web apps (PWA’s) then you might be familiar with Microsoft’s Blazor technology. If you’re not familiar, Blazor lets you create and host web apps with .NET and C# that can run on any web browser using WebAssembly, server-side in ASP.NET Core, or even in native client apps – all without having to write any JavaScript!
In this article, we are going to walk through the process of creating a Blazor PWA using Visual Studio Community Edition. We will then deploy and host the Blazor app into AWS Amplify straight from a GitHub repo.
Let’s do this!
Creating the App
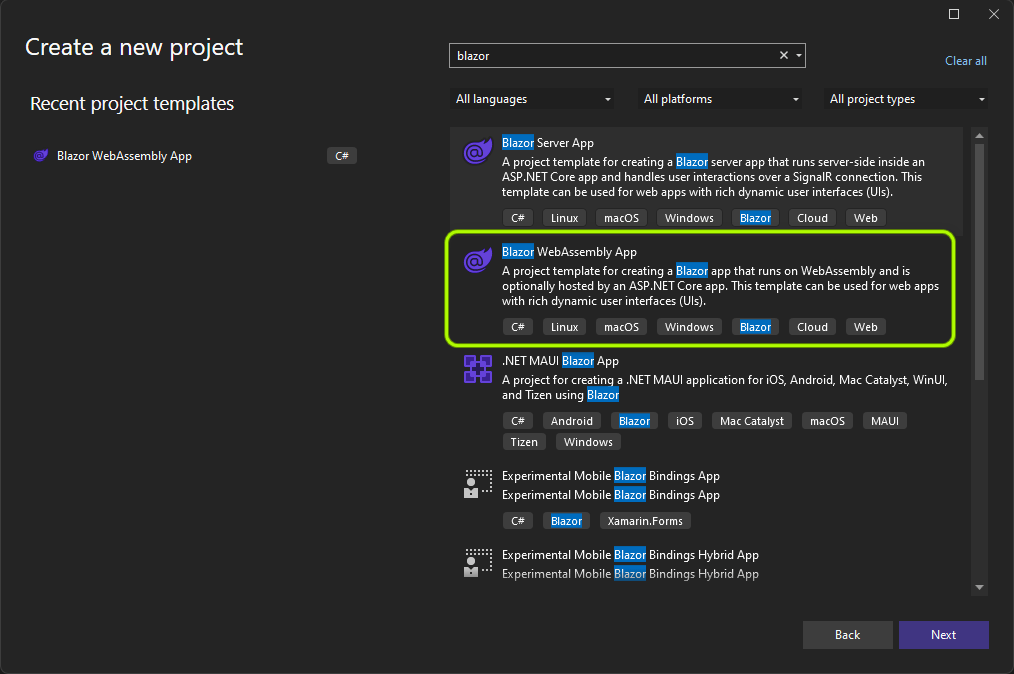
To get started, launch Visual Studio and create a new project. For the project type, enter “Blazor” and select Blazor WebAssembly App.
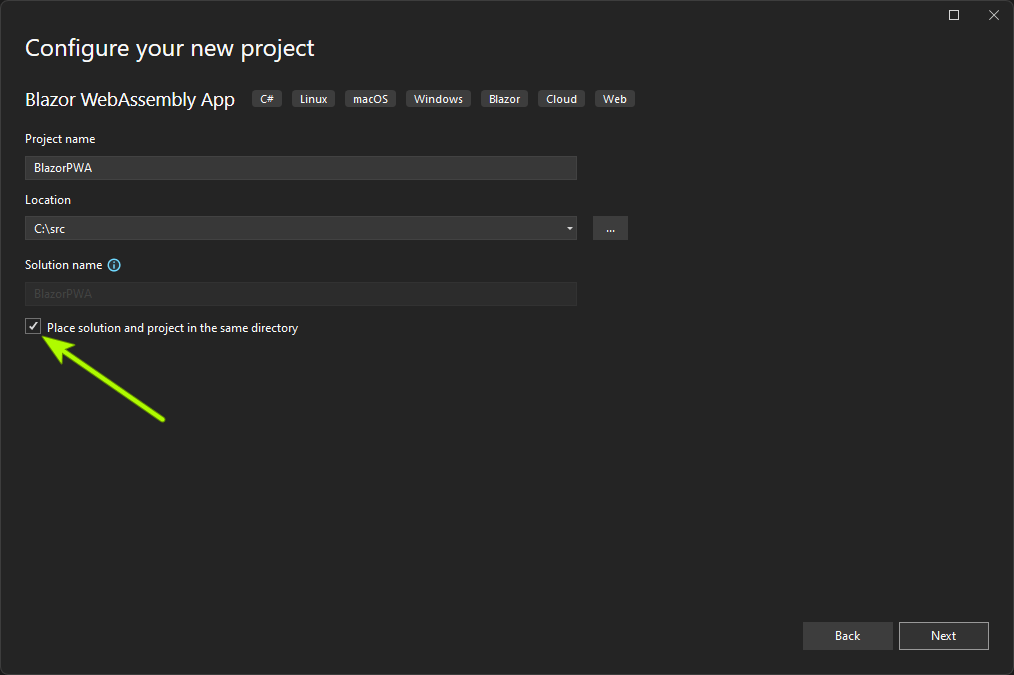
On the next screen, be sure to select the checkbox next to “Place solution and project in the same directory”. This will make the deployment to AWS Amplify a bit simpler when we’ve completed the app.
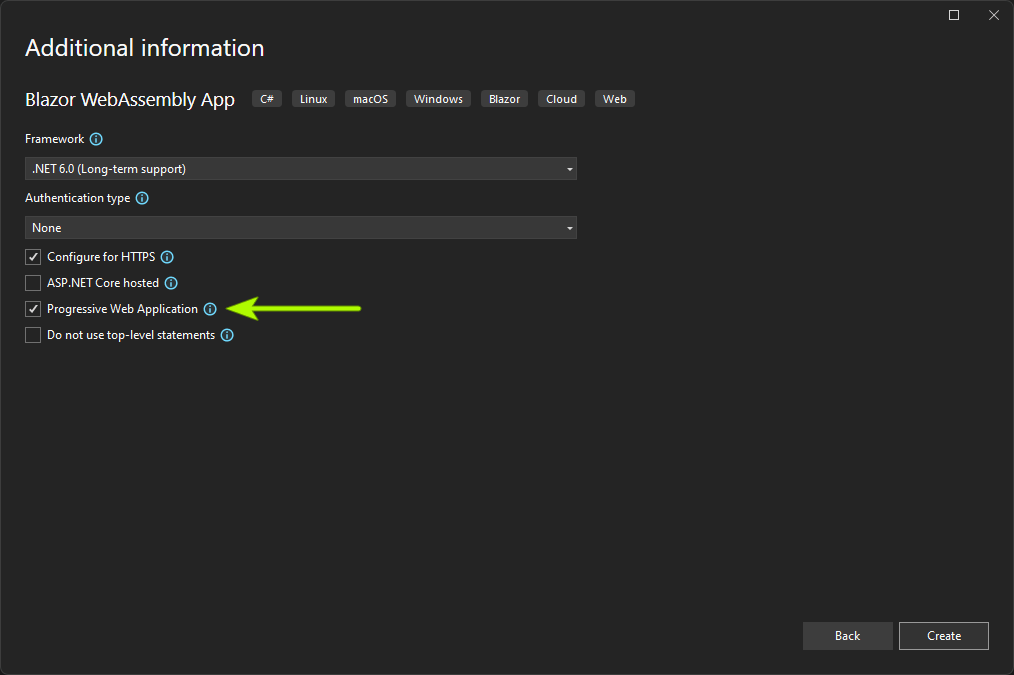
On the final screen, check the option for “Progressive Web Application” and click Create.
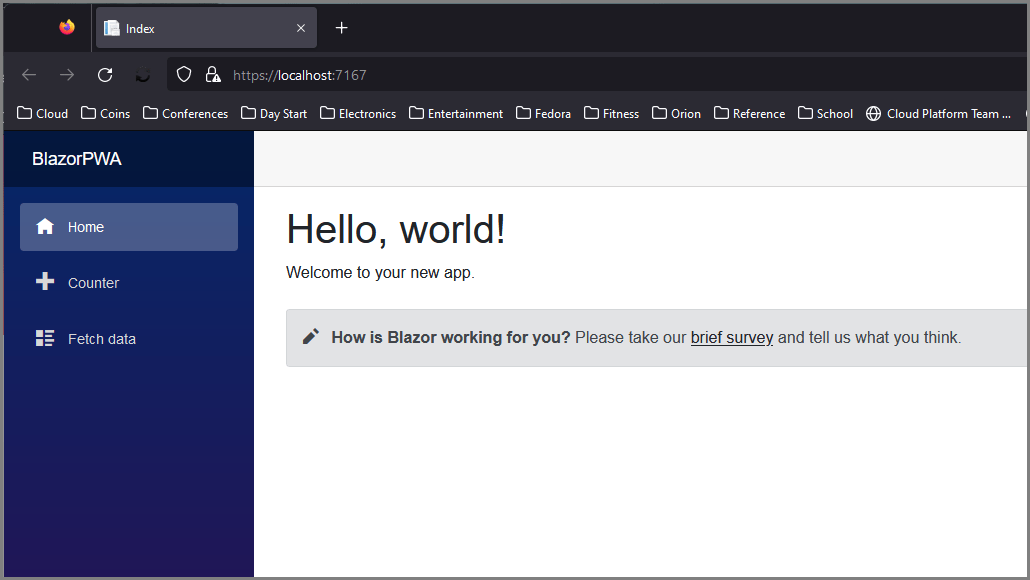
This will create a basic Blazor app with minimal functionality. At this point, you can run the application by pressing F5 if you’d like to quickly test it out in your browser. Running it now should give you something like this:
To prepare the application for deployment and hosting within AWS Amplify, we need to add a new YAML file – amplify.yml. Right-click on the project name in the Solution Explorer (within Visual Studio) and select Add / New Item.
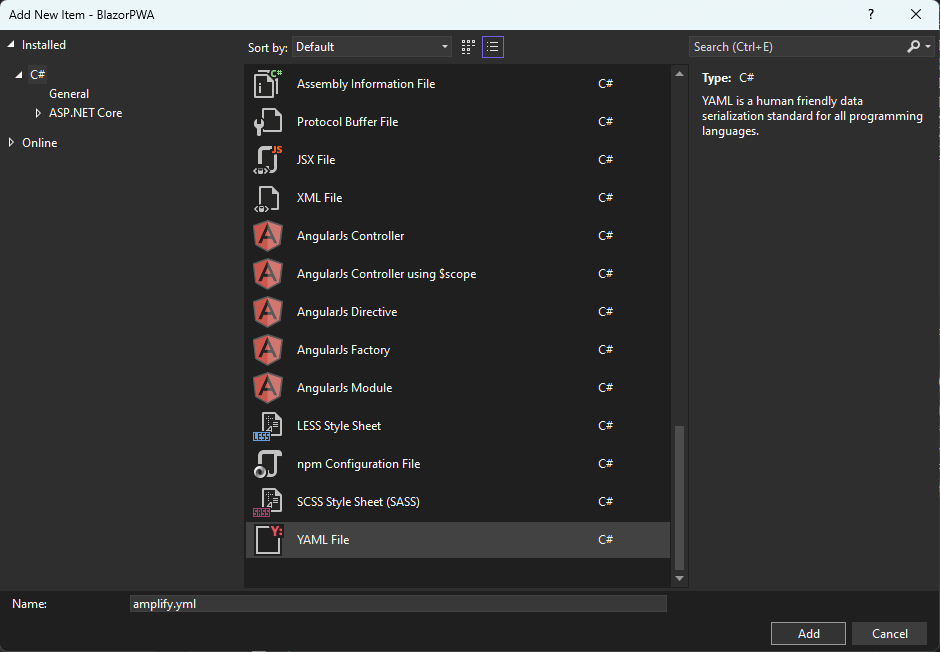
Select “YAML File” and give it the name amplify.yml. This name must match exactly for it to work properly
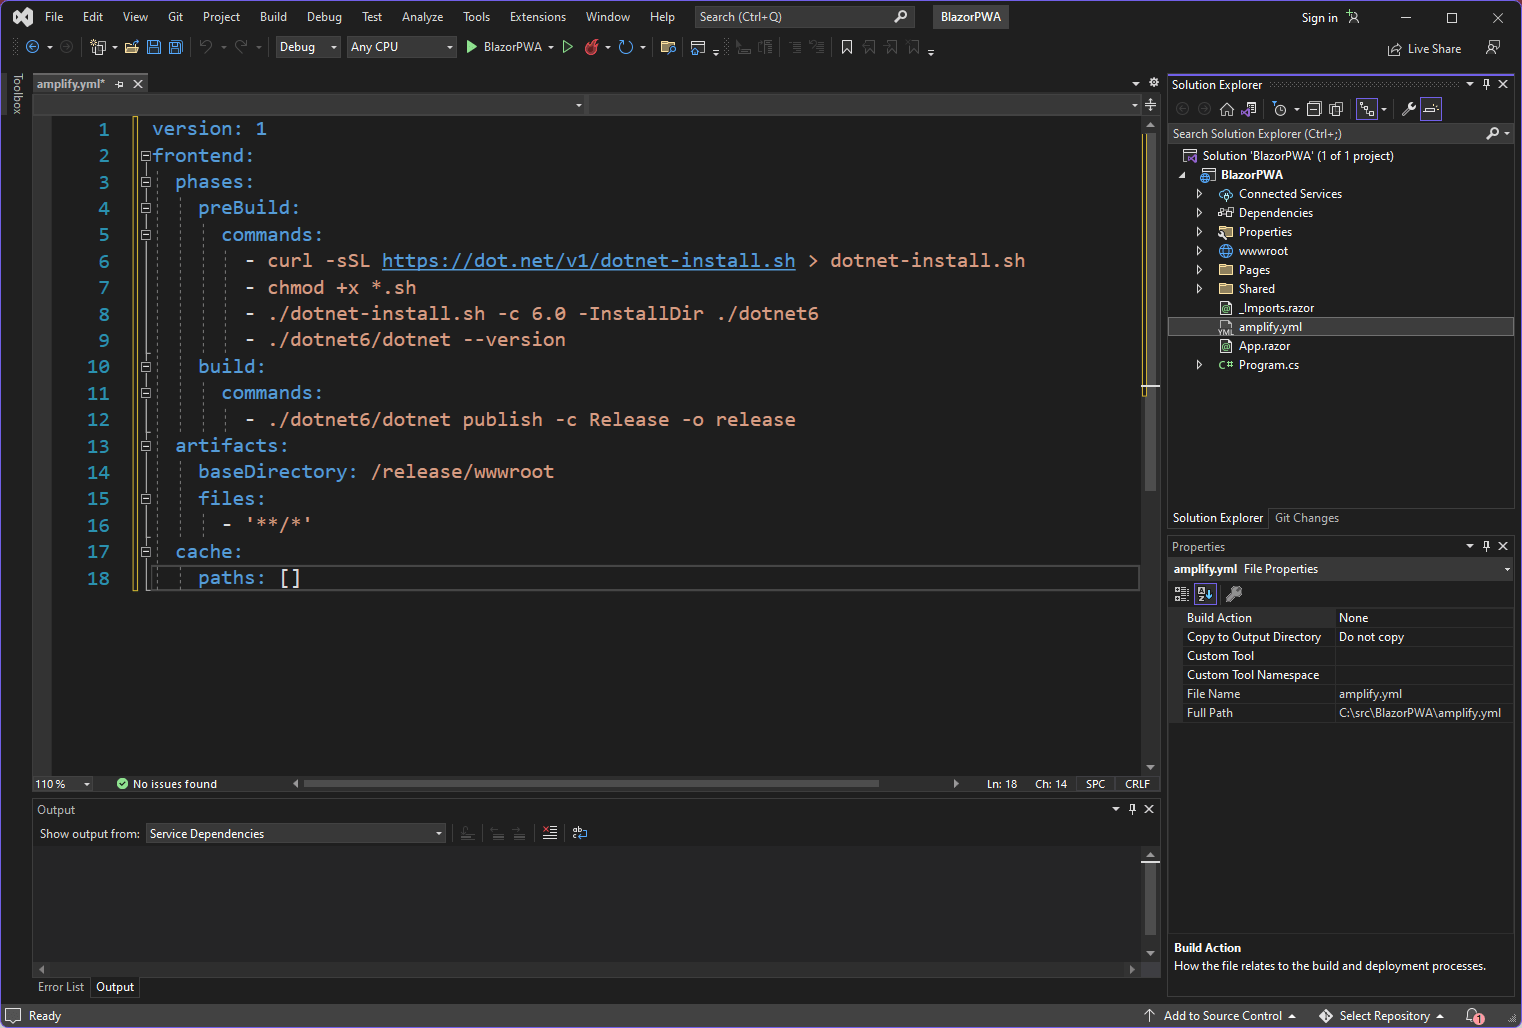
Copy/past the following text into the YAML file (and save):
version: 1
frontend:
  phases:
    preBuild:
      commands:
        - curl -sSL https://dot.net/v1/dotnet-install.sh > dotnet-install.sh
        - chmod +x *.sh
        - ./dotnet-install.sh -c 6.0 -InstallDir ./dotnet6
        - ./dotnet6/dotnet --version
    build:
      commands:
        - ./dotnet6/dotnet publish -c Release -o release
  artifacts:
    baseDirectory: /release/wwwroot
    files:
      - '**/*'
  cache:
    paths: []
At this point, your solution structure and YAML file should look something like this:
We Need a Repo!
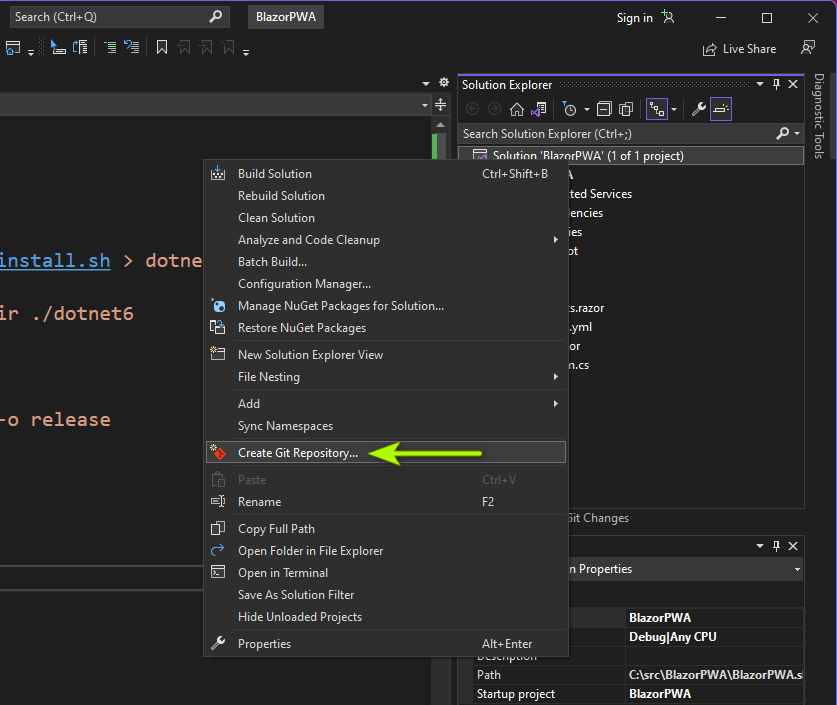
At this point, we need to create a GitHub repo and push our code. Fortunately, Visual Studio makes this quick and easy without having to drop down to the command line. That said, feel free to use the CLI if you prefer.
Start by right-clicking on the solution in the Solution Explorer and selecting Create Git Repository.
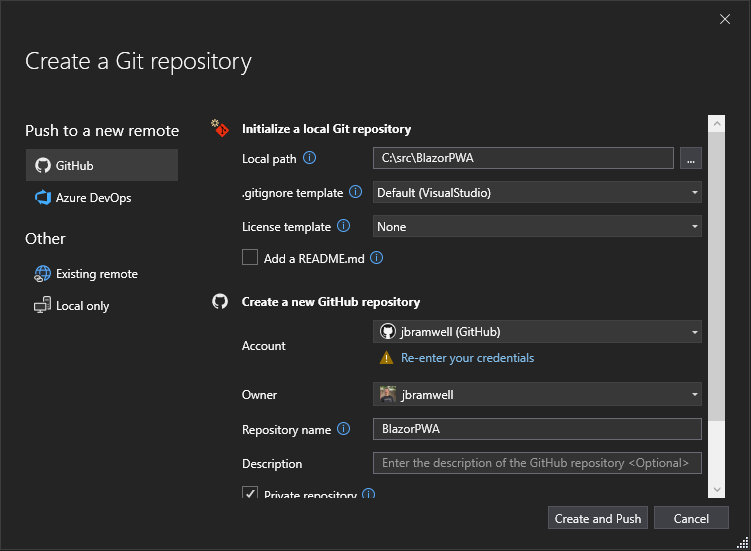
Fill in the appropriate fields and click Create and Push.
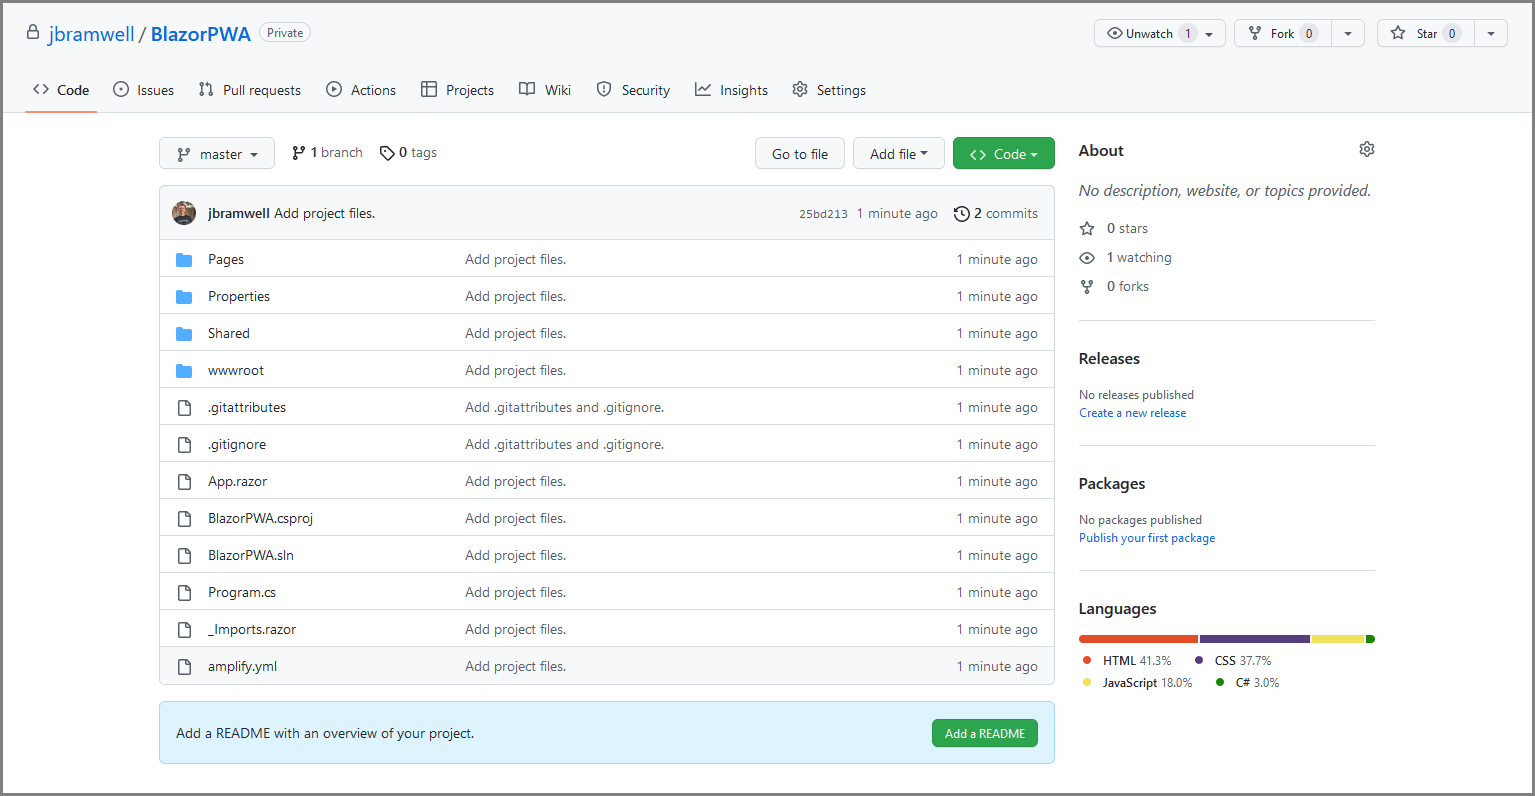
You should now be able to view the source code to your Blazor project in GitHub. Mine looks something like this:
Let’s Host This!
There are plenty of options out there for hosting a web app. One of these options is AWS Amplify. AWS Amplify is…
A complete solution that lets front-end web and mobile developers easily build, ship, and host full-stack applications on AWS, with the flexibility to leverage the breadth of AWS services as use cases evolve.
Configuring AWS Amplify to host our Blazor PWA is super simple!
To get started, sign in to the AWS Console. If you don’t have an AWS account, you can create one for free.
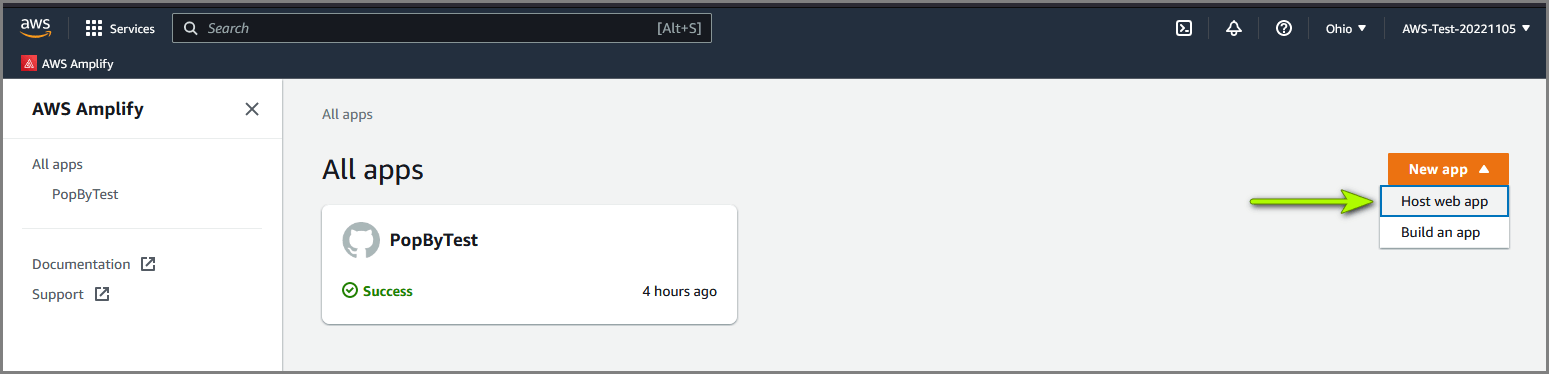
Next, navigate to the AWS Amplify service. From here, click on the “New app” button and select “Host web app”.
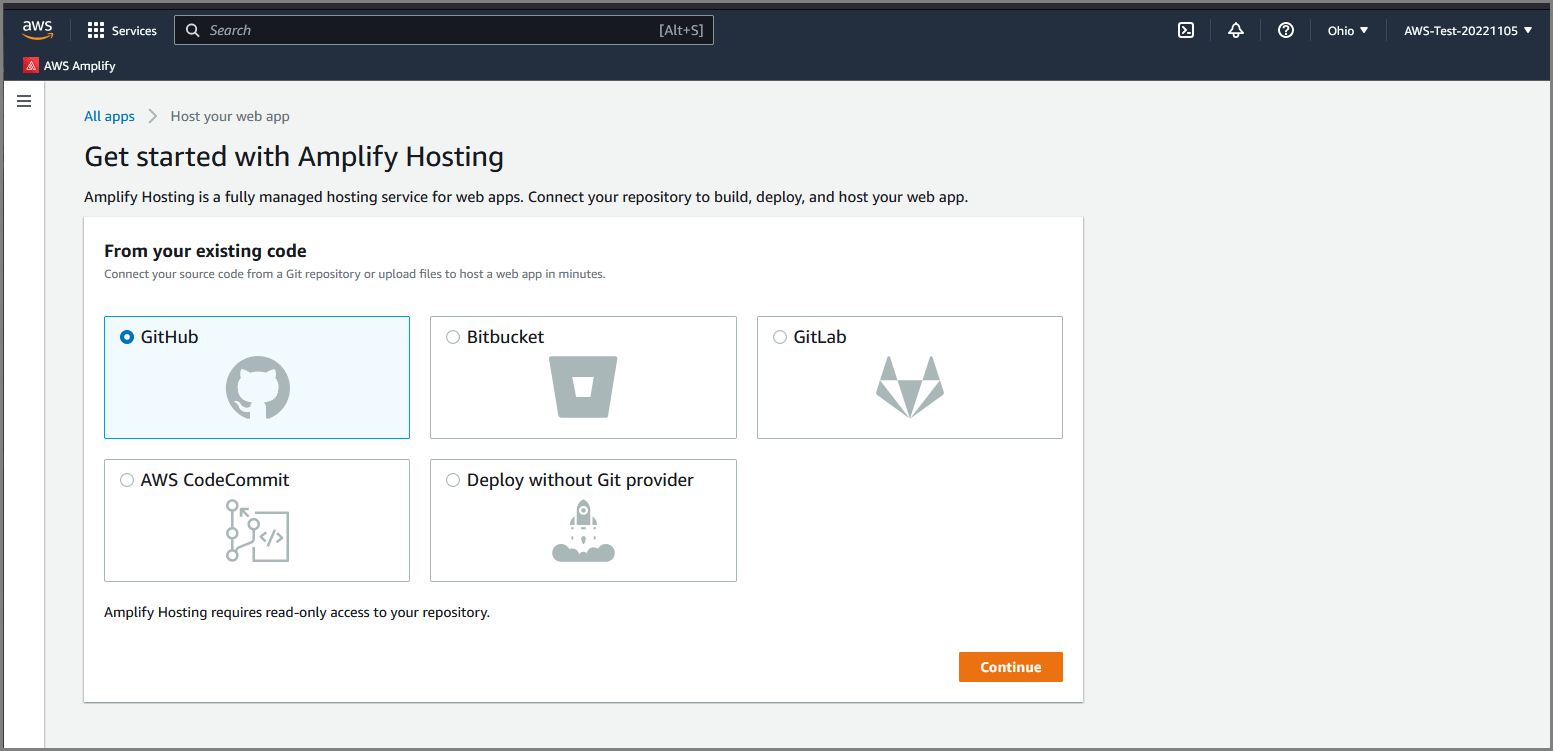
Select the GitHub option and click Continue.
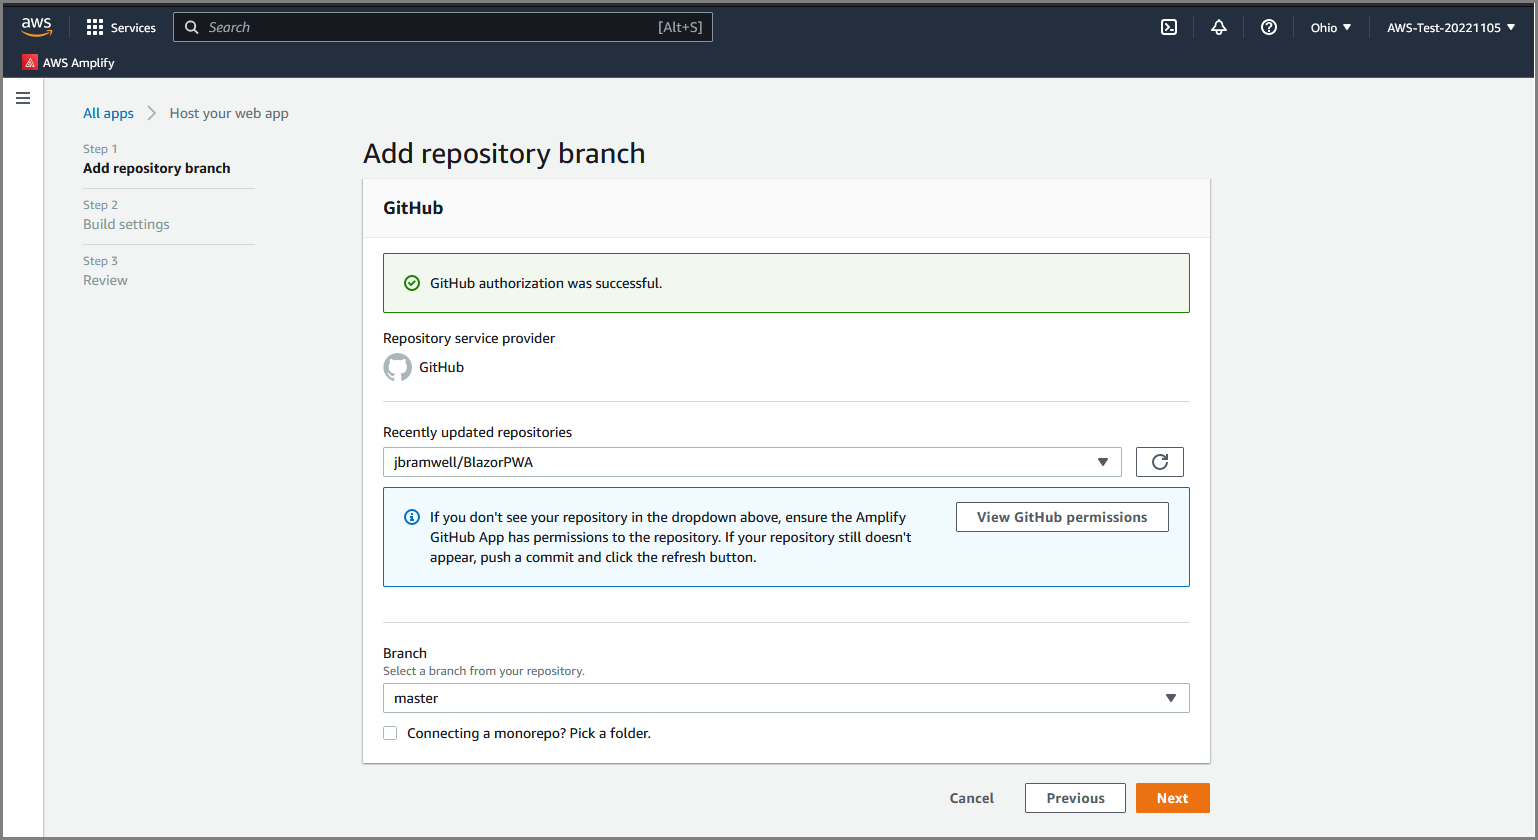
From here, you will need to sign into GitHub and configure access for the repo created above. You’ll want to select the repo containing your Blazor app (or you can select “All repositories”. Mine looks something like this:

On the next screen, you will get confirmation that the GitHub authorization was successful. Click Next.
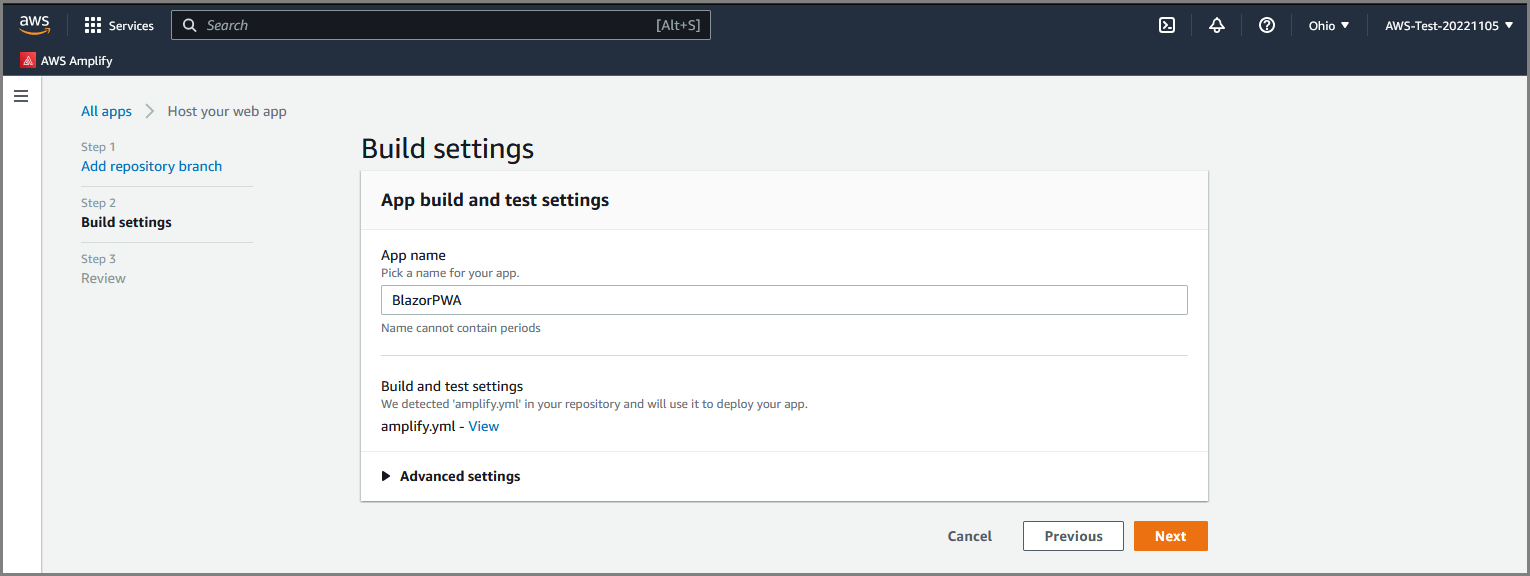
Specify the app name and click Next.
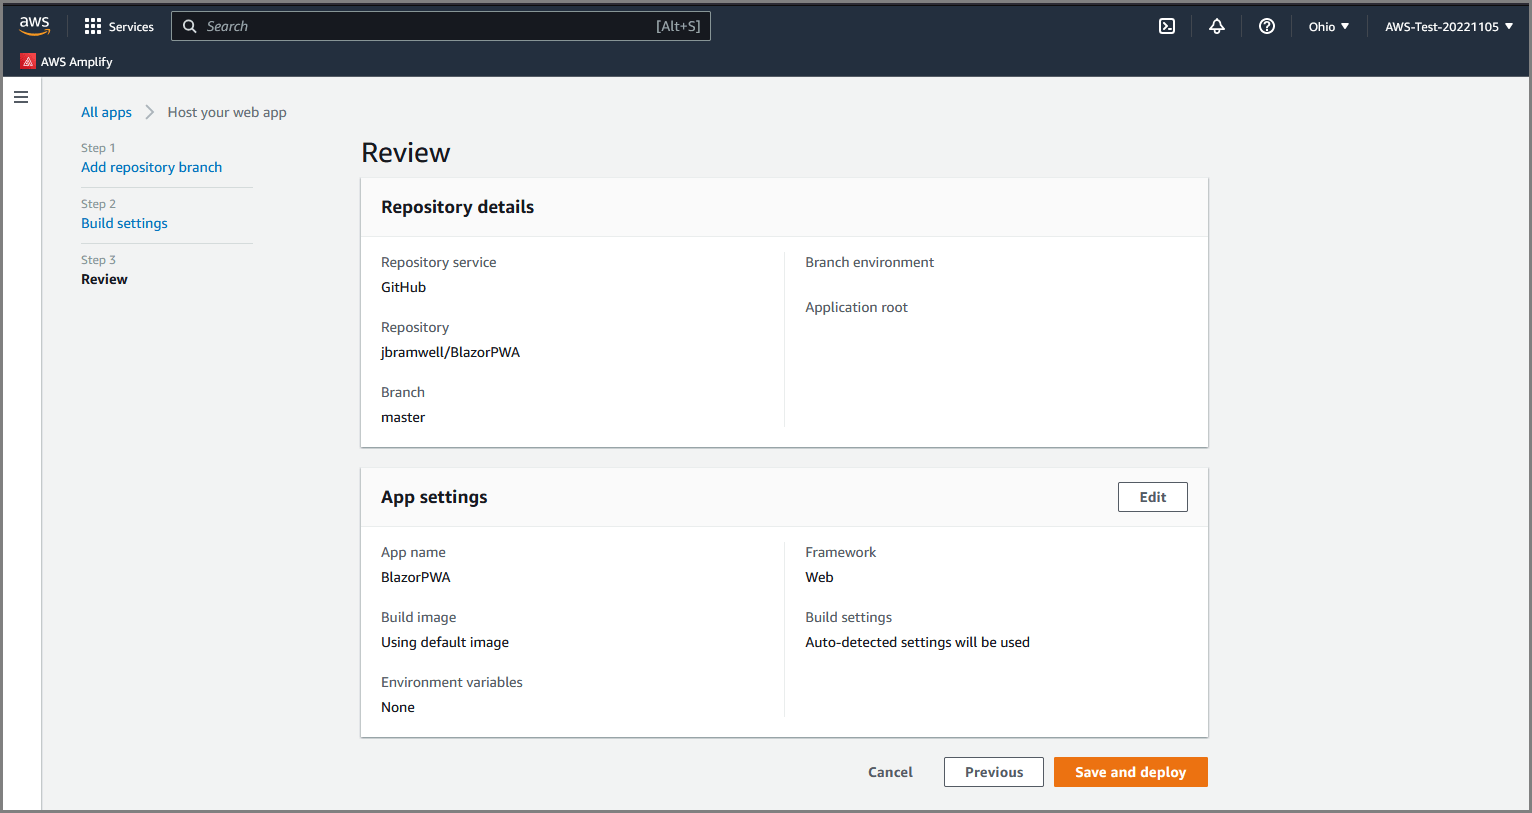
Verify the configuration and click “Save and deploy”.
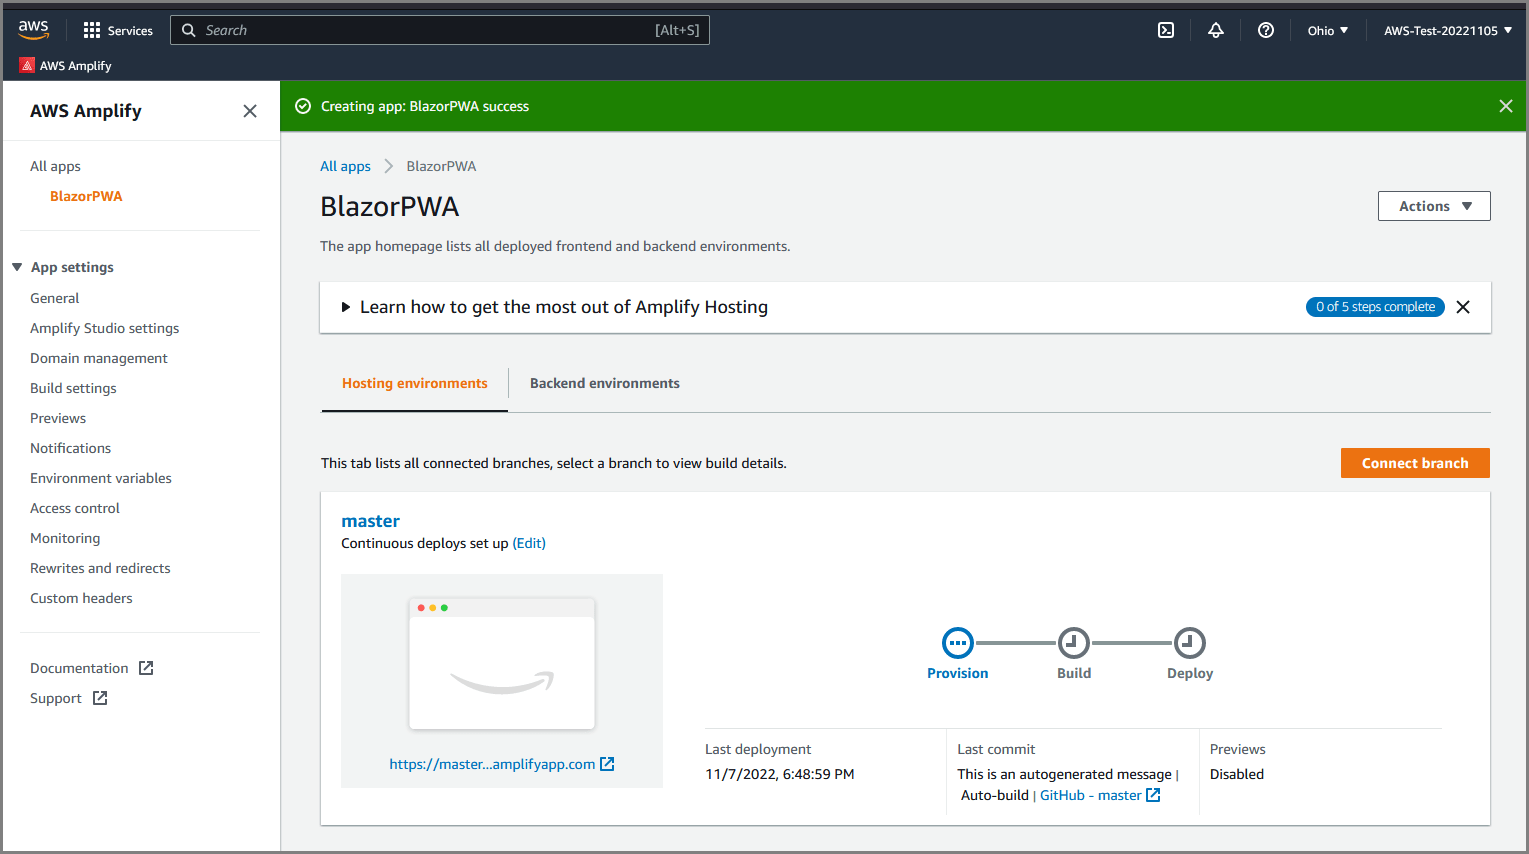
At this point, AWS Amplify will start building your application by pulling the source code from the repo, building the application artifacts, and deploying. Much of what is happening behind the scenes is driven by the amplify.yml file that was created above. See configuration build settings for more details.
A progress indicator let’s you know where it’s at.
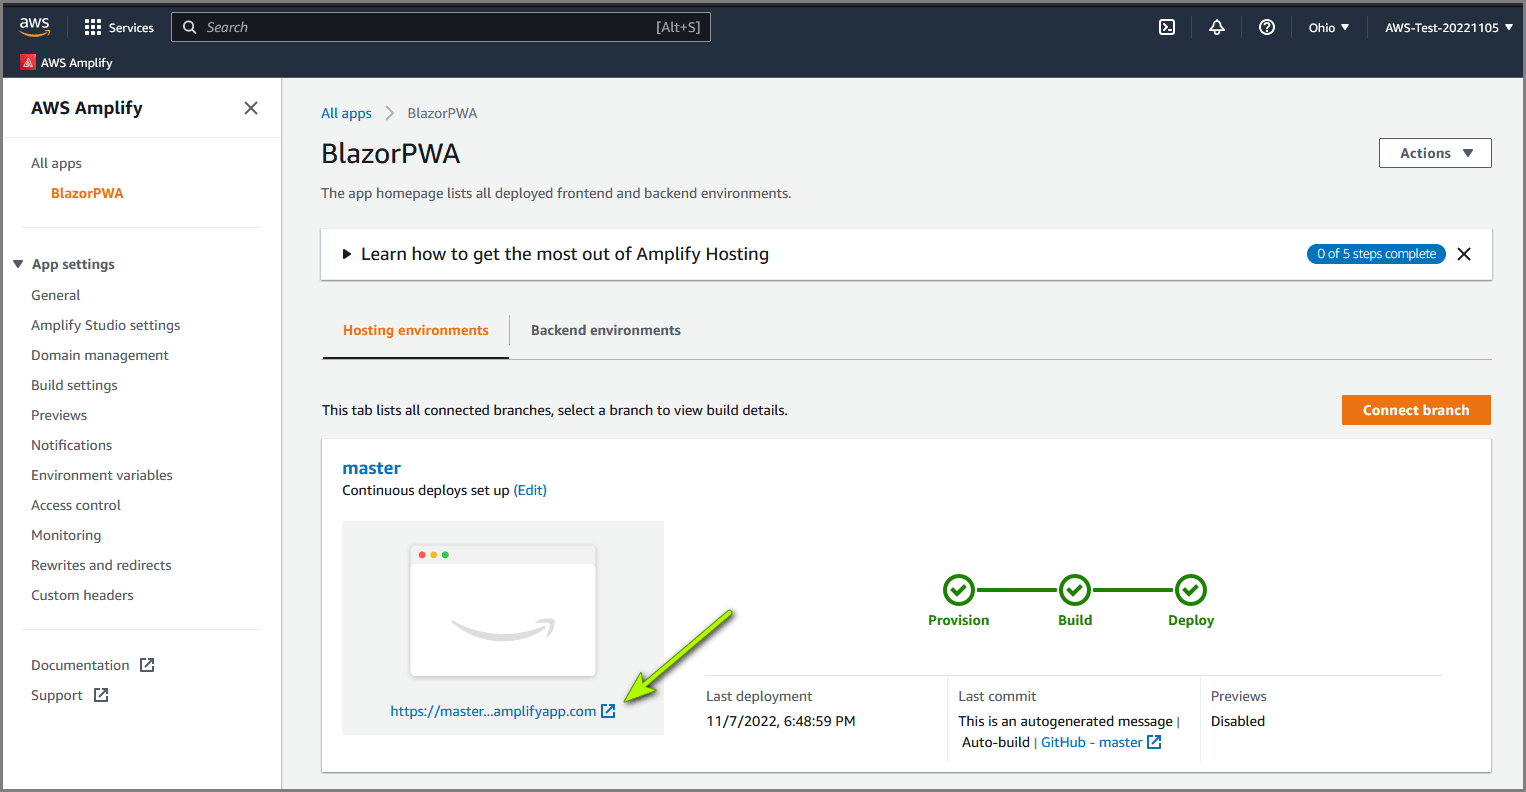
Once the deploy has completed, you can click on the link to test out the app.
Installing the PWA
Now that the PWA is being hosted, let’s install it on our phone. In my case, I am using the Firefox mobile browser but this should work for other major browsers as well.
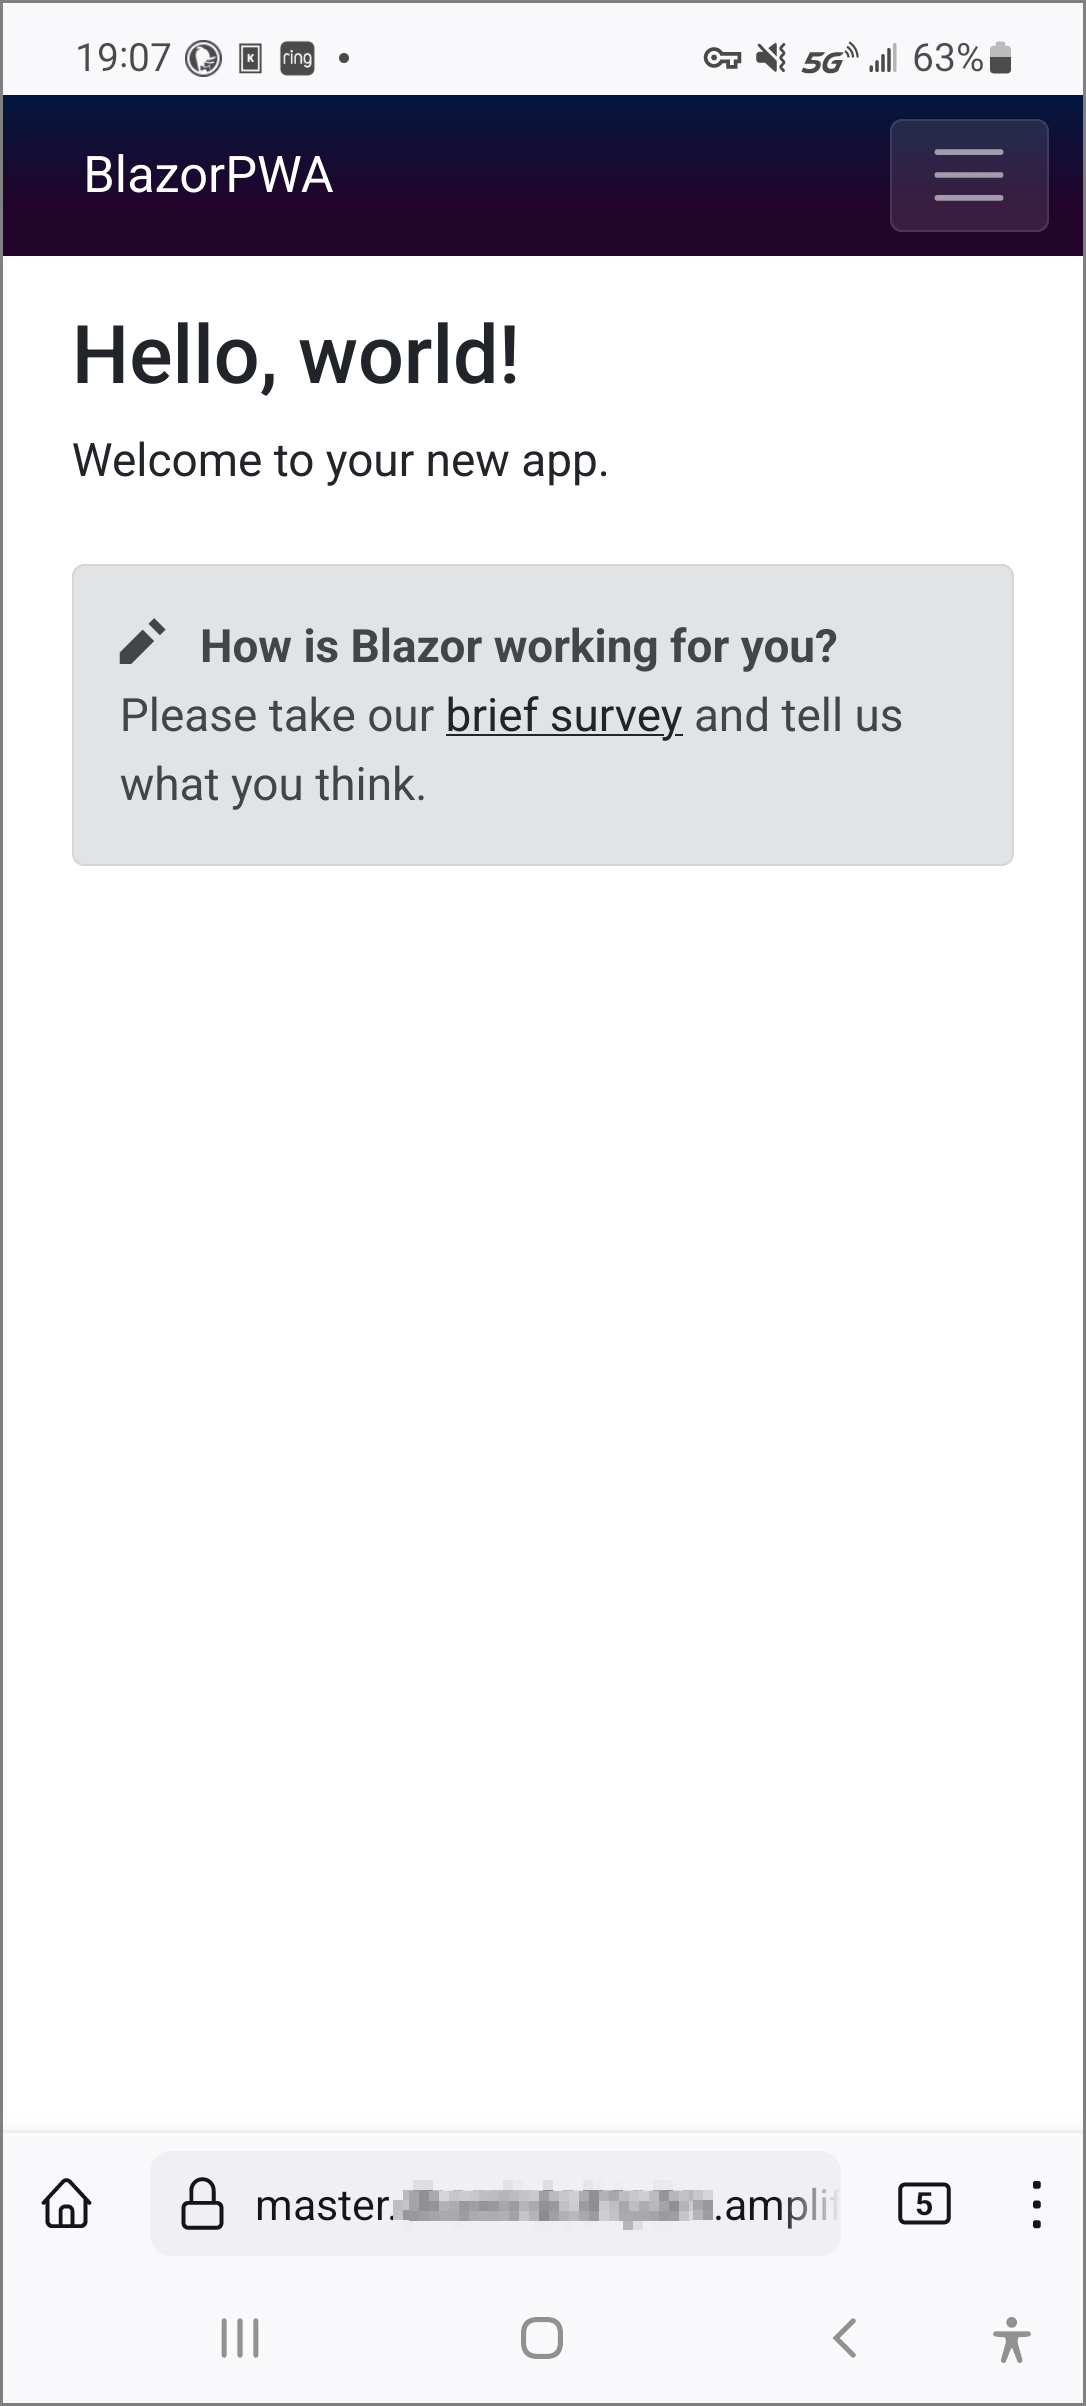
When I navigate to the app URL on my phone, it looks something like this:
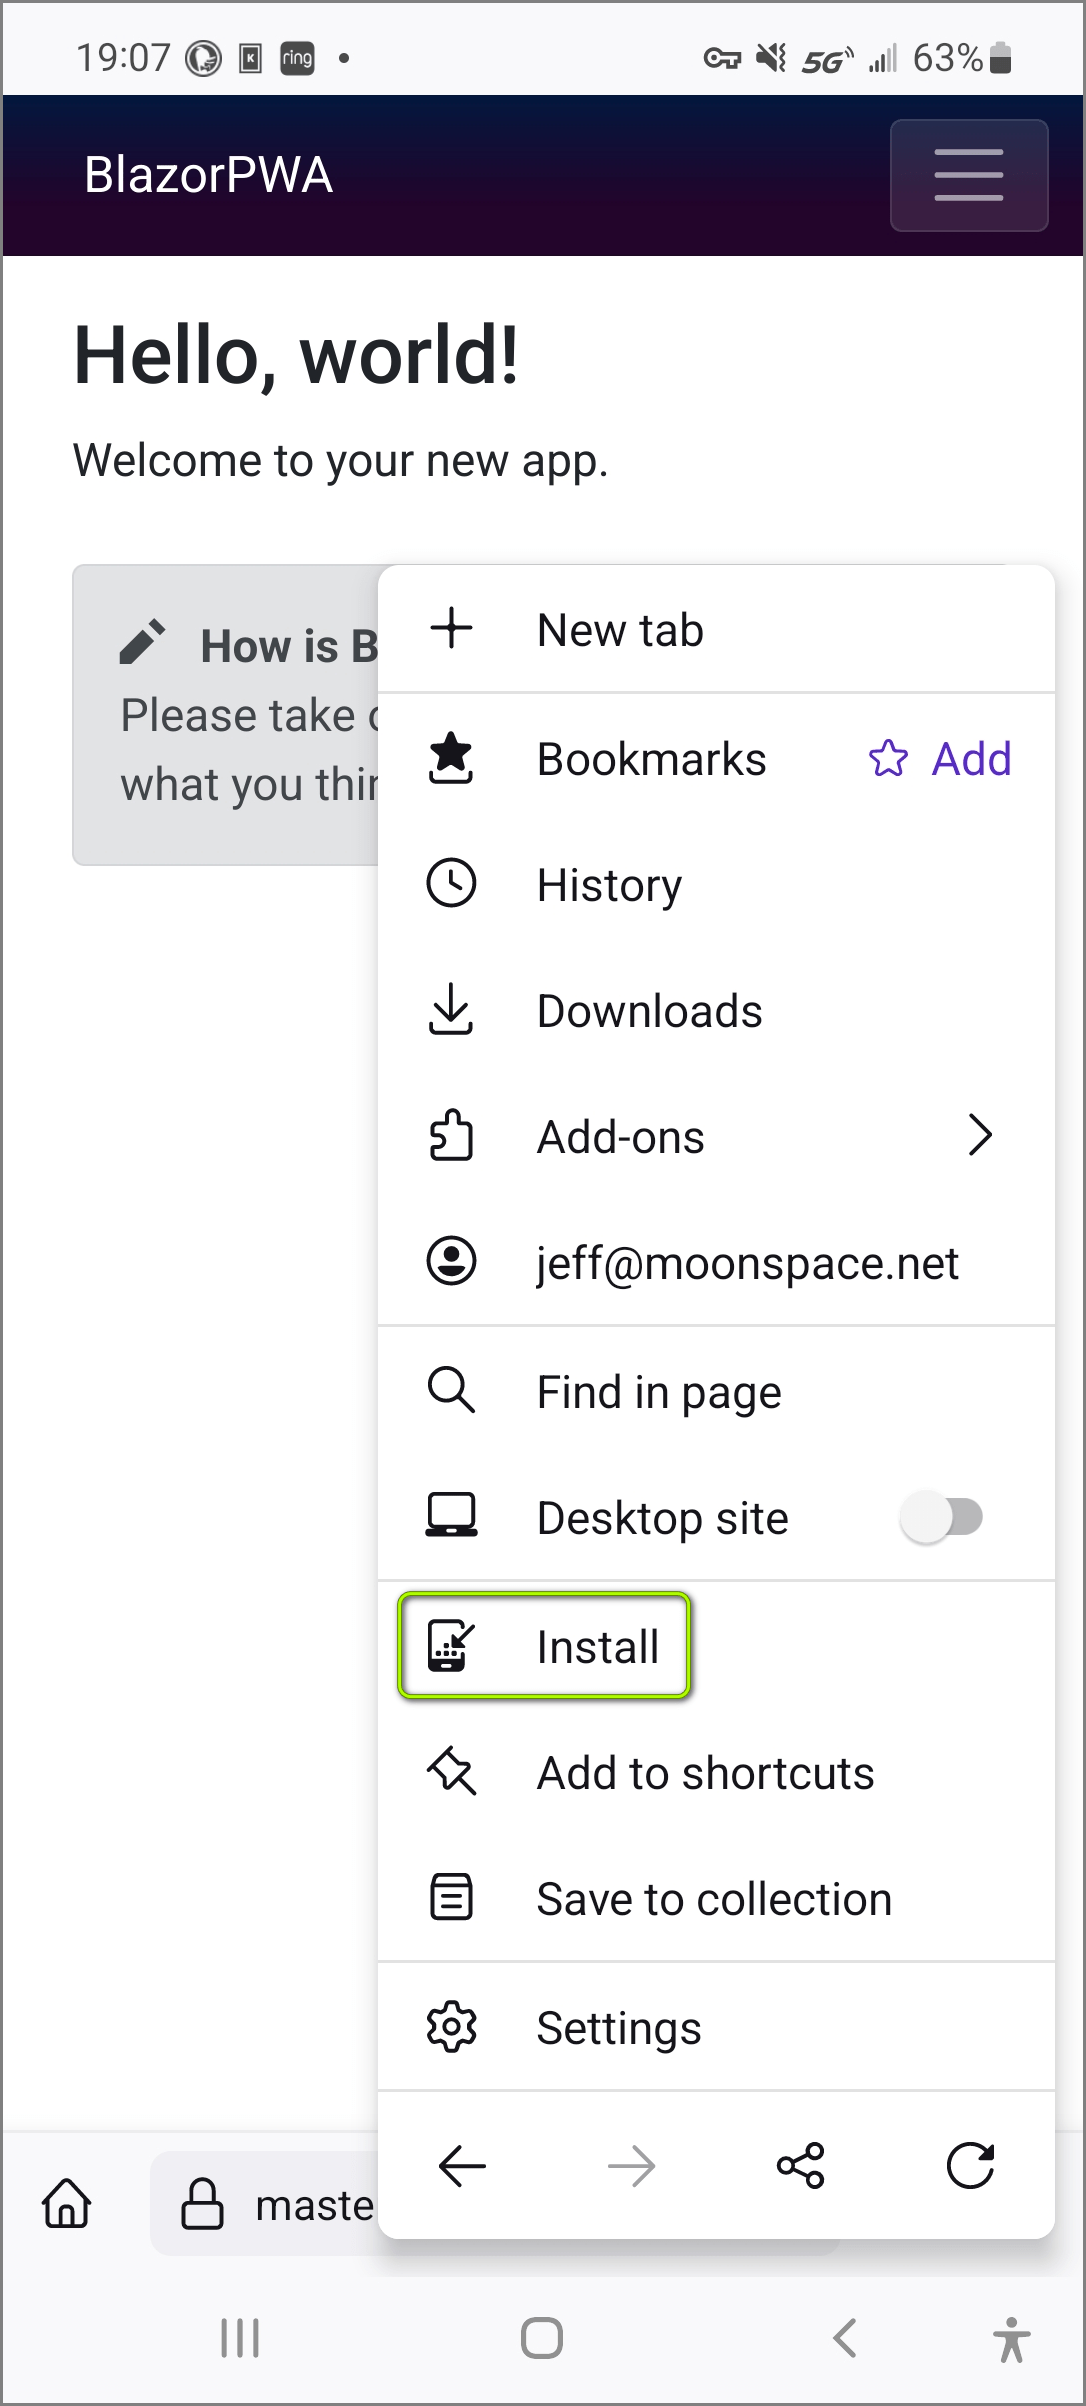
Next, tap on the “…” to show the menu and select Install.
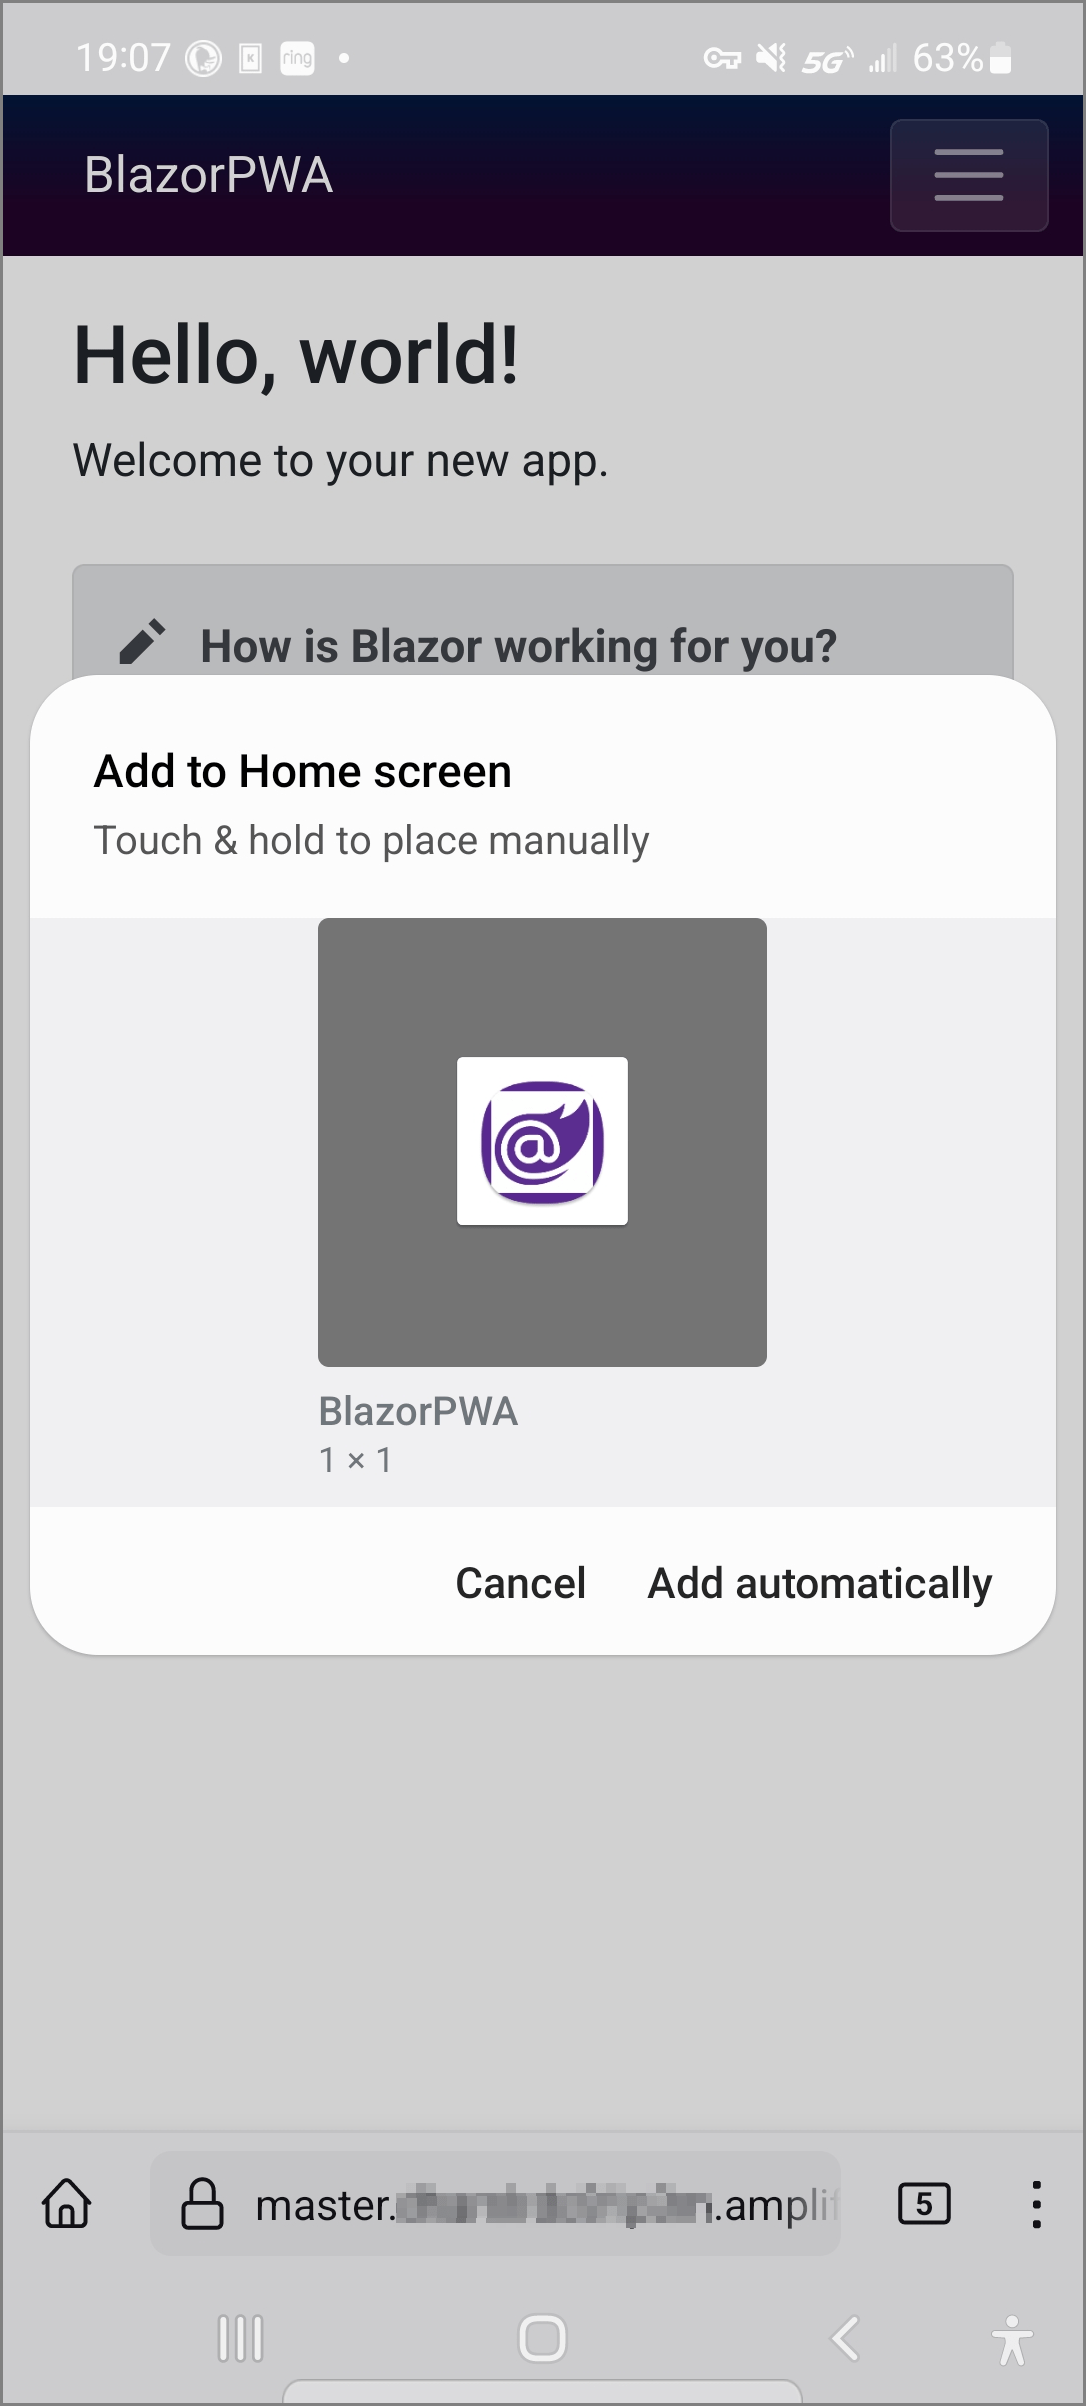
At this point, you can select “Add automatically” to have the PWA icon added to your phone screen or tap-and-hold to drag the icon where you want it.
Now when I launch the PWA from the icon, it looks like this:
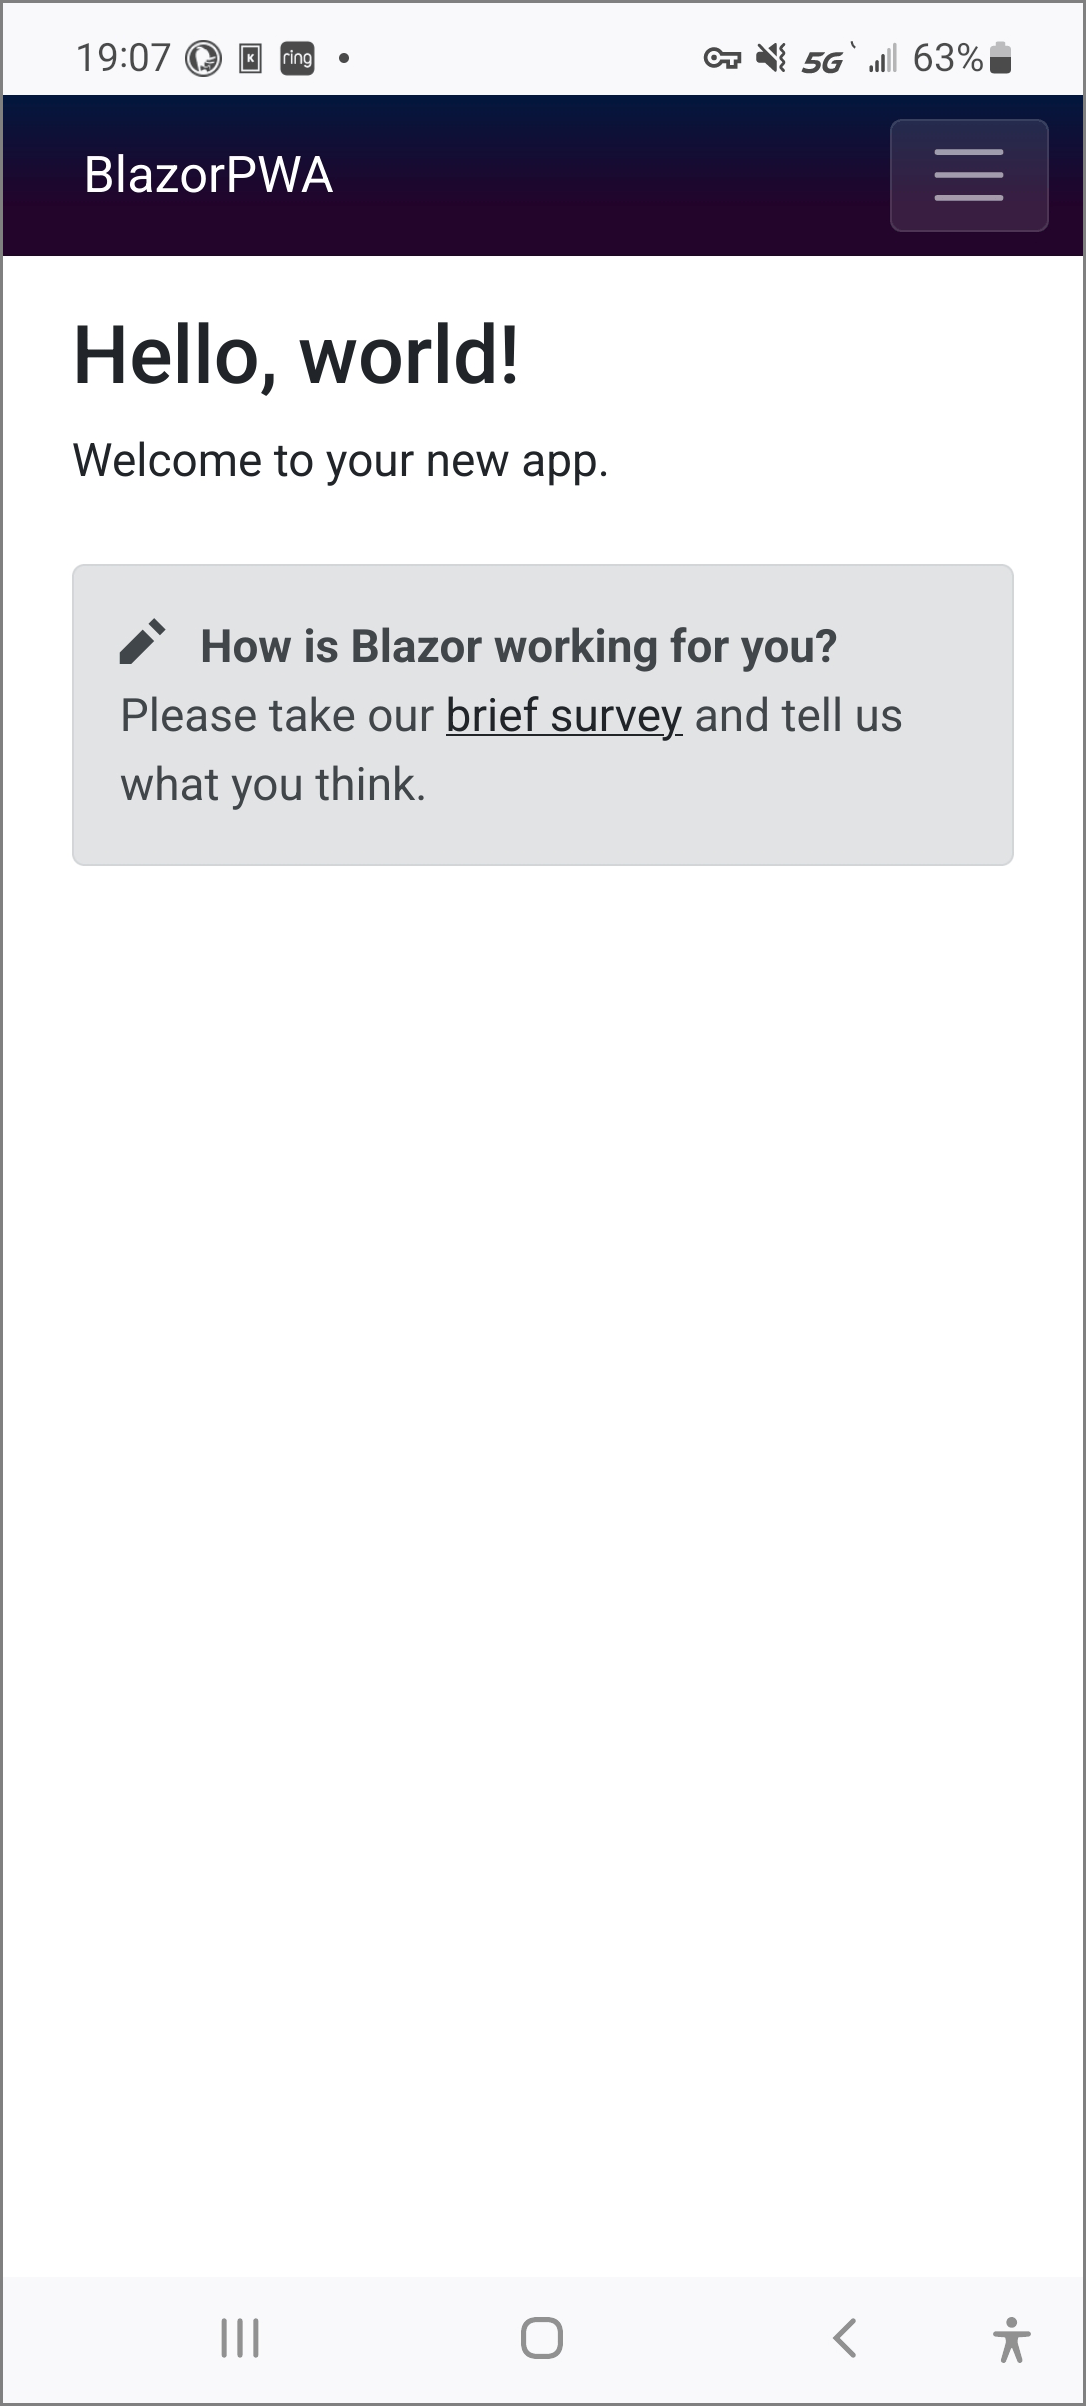
Notice that the address field is no longer visible and it doesn’t look like it’s a web app running in a browser.
Summary
As you can see, getting a basic Blazor PWA deployed and hosted in AWS and running on a smartphone is quick and easy. There are plenty of other details not covered in this article (e.g., app icons, certificates, etc.) but this should help you blaze the trail for your projects.
I hope to post more articles like this as I work through some of my own Blazor projects. If you have any Blazor tips and tricks you’d like to share, please comment below!
Thanks!